01Why Raw Cursive Typography Cuts Into Pieces
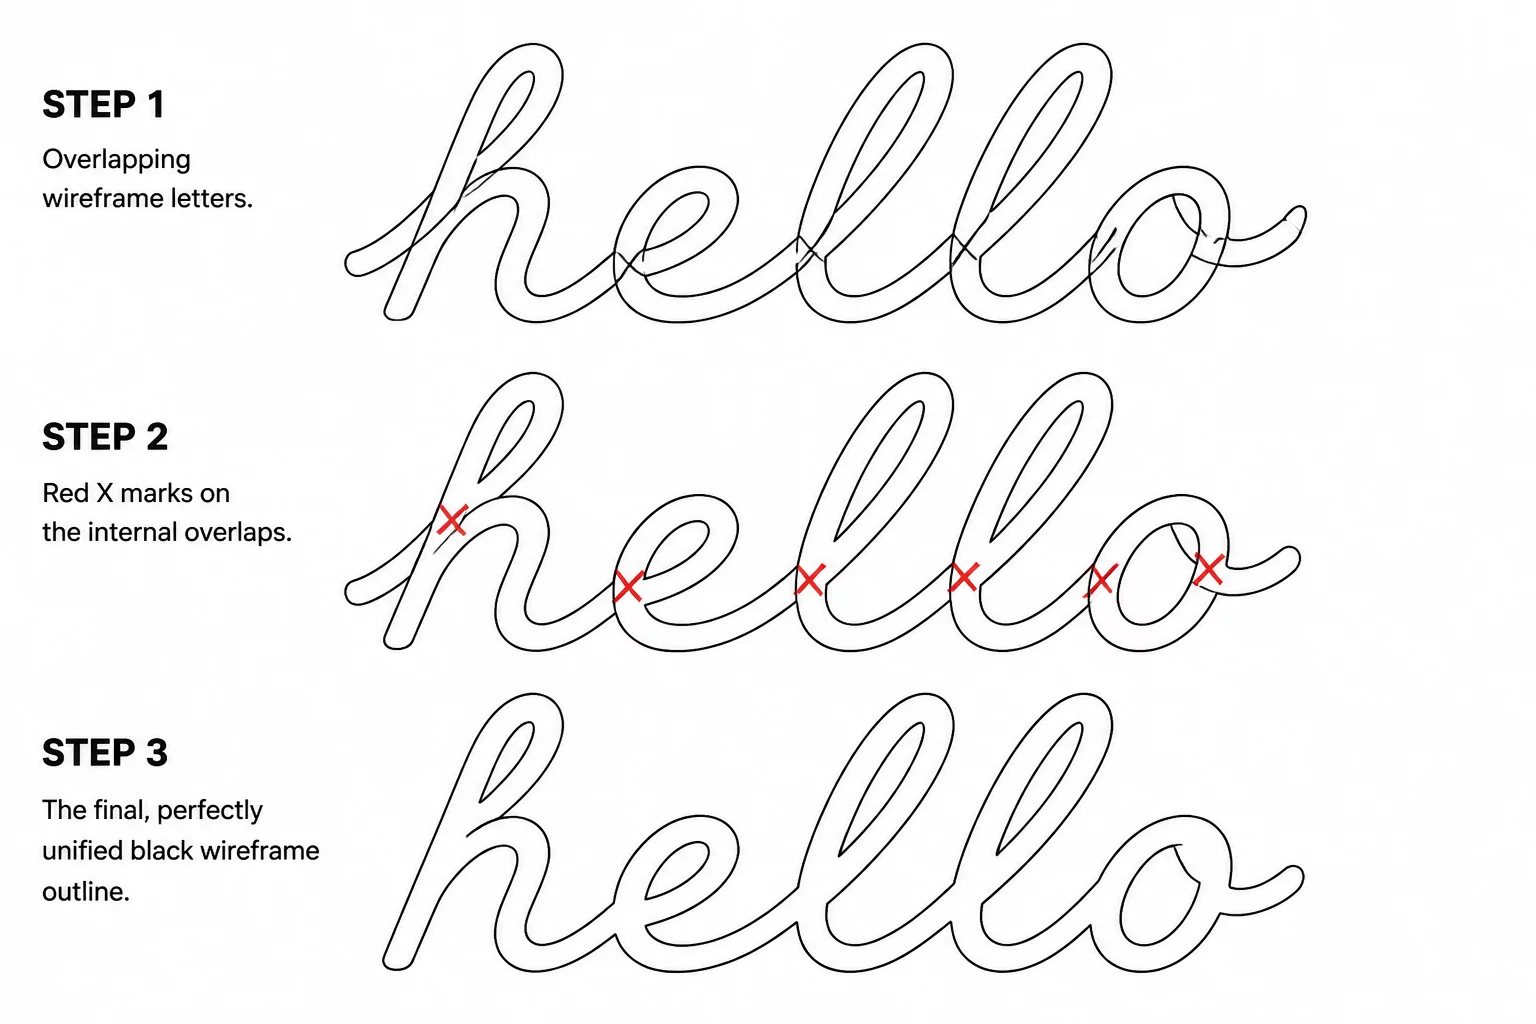
Standard cursive digital fonts are designed for display screens and desktop printers, not plotter blades. In digital typography, each glyph sits inside an individual bounding box. When you type connected cursive text, the software overlaps adjacent letter tails over the following characters to create the illusion of handwritten continuity. To a display engine, overlapping solid fills look seamless, but a cutting blade follows the outlines selected in the cut preview.
Without performing a geometric union operation, the drag knife cuts right through every overlapping connector tail. The finished cut yields fragmented letter shards rather than a single unified word. Understanding how intersecting vector boundaries interact forms the baseline requirement for cleanly cutting vinyl, cardstock, wood veneer, and heat transfer film.
Key Takeaways
- Raw cursive text contains overlapping glyph boundaries that will slice each letter into separate fragments if cut without welding.
- Executing a Weld or Union boolean merges overlapping contours into one outer perimeter while retaining separate inner loops.
- Converting text to vector paths is destructive; always retain a backup of editable typography before flattening.
02Executing the Boolean Union in Vector Space
In vector cutting software such as Silhouette Studio, Adobe Illustrator, or Inkscape, the weld tool computes the outer union of intersecting closed paths. When the tool executes, it calculates the exact intersection coordinates where letter tails overlap, removes the internal segments, and joins the remaining exterior vectors into a continuous curve.
Visual connection in a font is merely aesthetic layering; physical continuity requires mathematical vector unification.
Prior to welding, ensure the text kerning produces sufficient physical overlap. A connector that only touches the next letter at a point can leave a fragile join or a gap. Inspect the actual overlap and test the connected word at its intended size.
03Counter Retention and Compound Paths
When welding complex cursive words containing enclosed loops—such as the counters in 'e', 'o', 'a', 'd', or 'g'—certain software operations risk converting inner loops into solid fills. Maintaining proper path hierarchy prevents counter loss:
- Check the compound path hierarchy to ensure internal loops remain designated as negative holes rather than separate solid subpaths.
- Inspect tight loops in decorative script fonts where thick strokes pinch the counter into sub-millimeter slits that trap weed tools.
- Deselect detached punctuation like the dots on 'i' and 'j' before grouping if you plan to position them manually across layers.
Once the boolean union finishes, verify that the inner counters appear in wireframe mode with their directional winding intact. If a loop fills solid, executing a 'Make Compound Path' command restores the intended void.
04Node Inspection and Final Slit Elimination
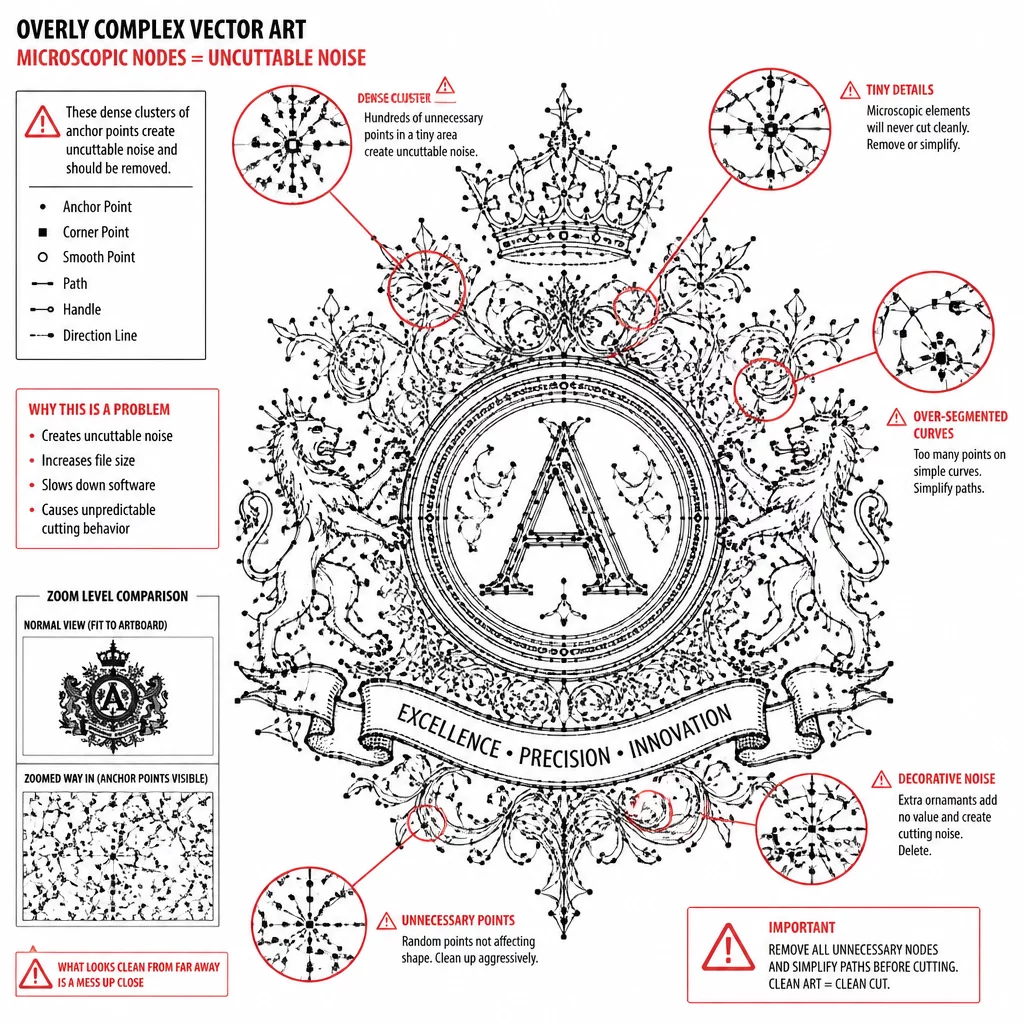
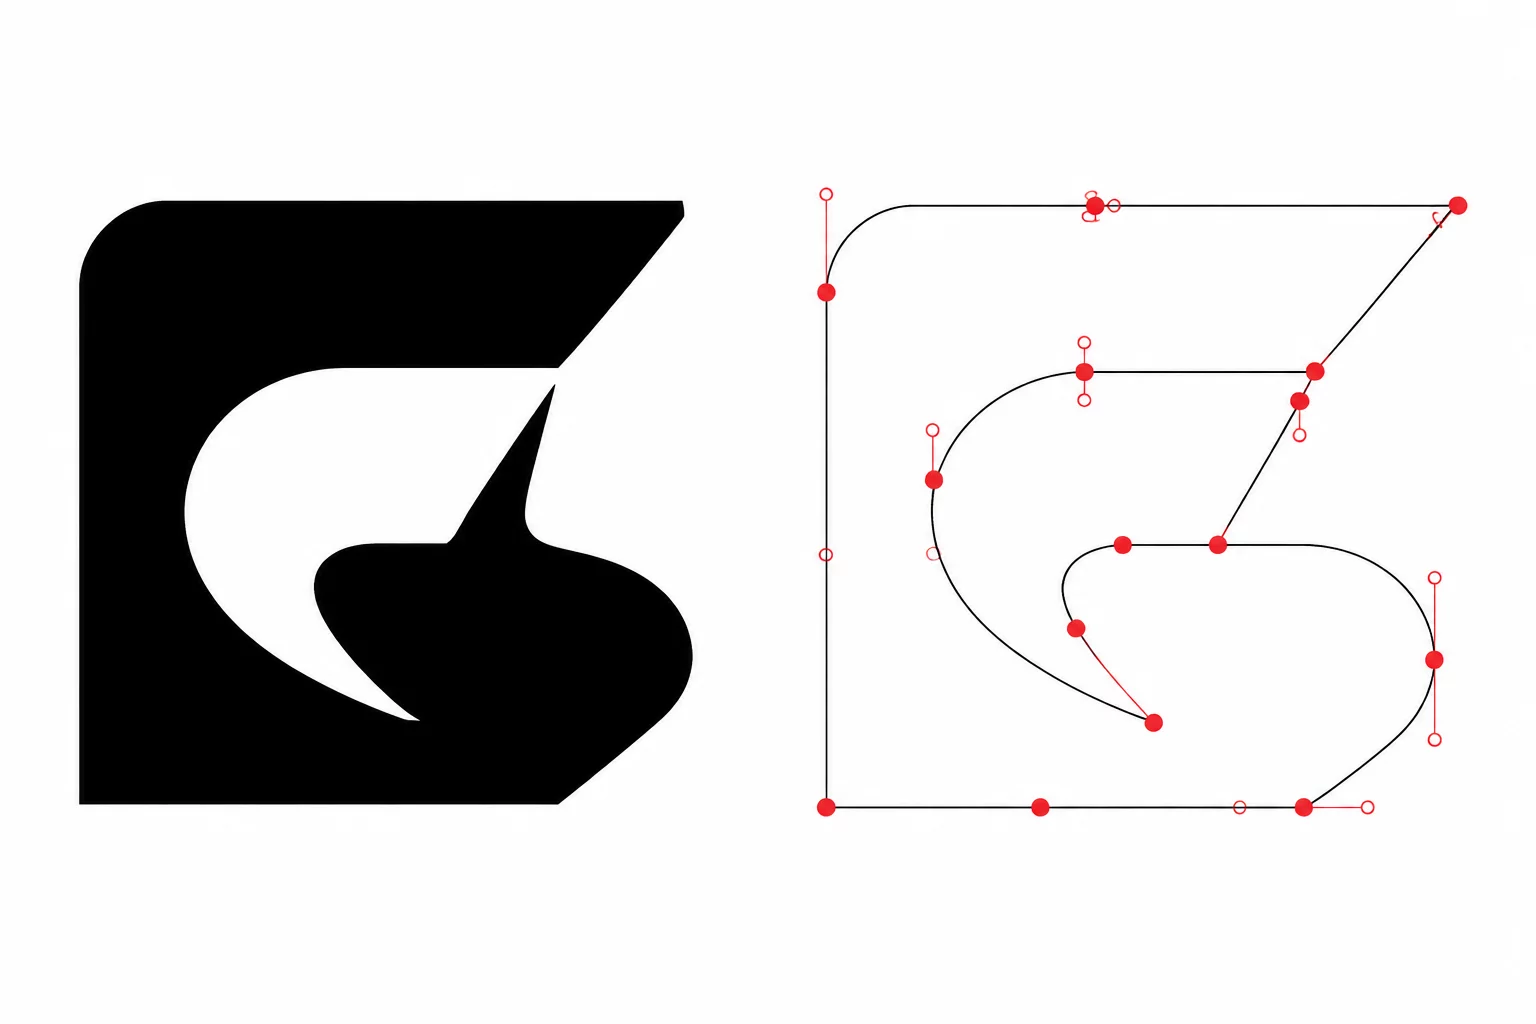
Script fonts frequently introduce redundant anchor points at the exact seam where two bezier curves collide. These clustered nodes cause the plotter blade to chatter, pause, or gouge fragile substrates. Switching to Node Edit mode allows you to identify sharp cusps, remove overlapping vertices, and smooth out transition tangencies.
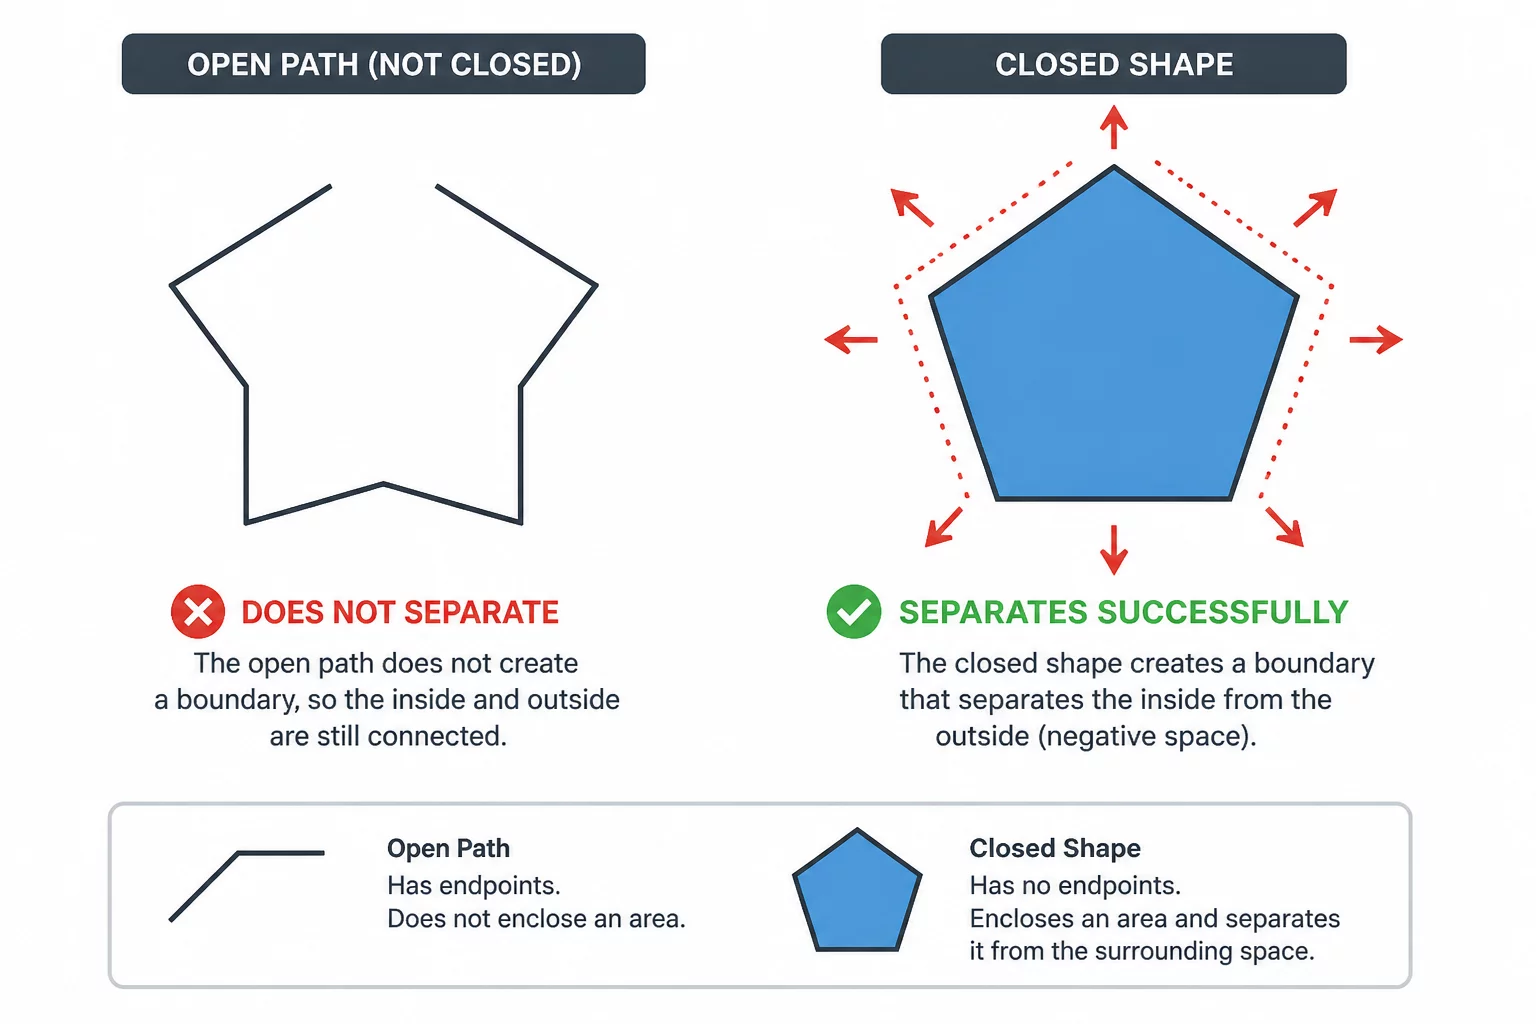
Run a final test under 400% zoom with wireframe view enabled. Look for microscopic zero-area loops or open endpoints along the connector baseline. A clean, single-perimeter vector ensures the machine travels fluidly in one unbroken sweep, delivering clean peels and immaculate weeding results.